
 # Transforming Your Space: Practical Steps for a Successful Bathroom Remodel
**Introduction: Embracing Your Home’s Potential**
Are you tired of your outdated bathroom but unsure where to start? A bathroom remodel may seem overwhelming, but with the right planning and execution, you can transform a dull space into a stylish sanctuary. This guide walks you through a comprehensive bathroom renovation, highlighting practical steps and insights that target both millennial and Gen-X homeowners. Get ready to roll up your sleeves and embark on this rewarding journey!
## Understanding Your Project: Defining the Scope
Before diving headfirst into demolition and renovations, take a step back and evaluate the current state of your bathroom. What elements are functional, and which parts require a complete overhaul? For instance, if you find yourself wrestling with an inadequate layout or outdated fixtures, a complete redesign might be in order. Conversely, if the room just needs a facelift, focusing on cosmetic updates could suffice.
In the context of a complete bathroom renovation, setting a clear scope helps contain your budget and time investment. Consider the following questions:
– **What are the must-haves?** List key features such as a modern shower, updated plumbing, or improved lighting.
– **What can potentially stay?** Determine if you can reuse existing fixtures like the sink or even the cabinetry.
– **What’s your budget?** Setting a firm budget upfront avoids the heartache of overspending and allows you to prioritize where to invest more heavily.
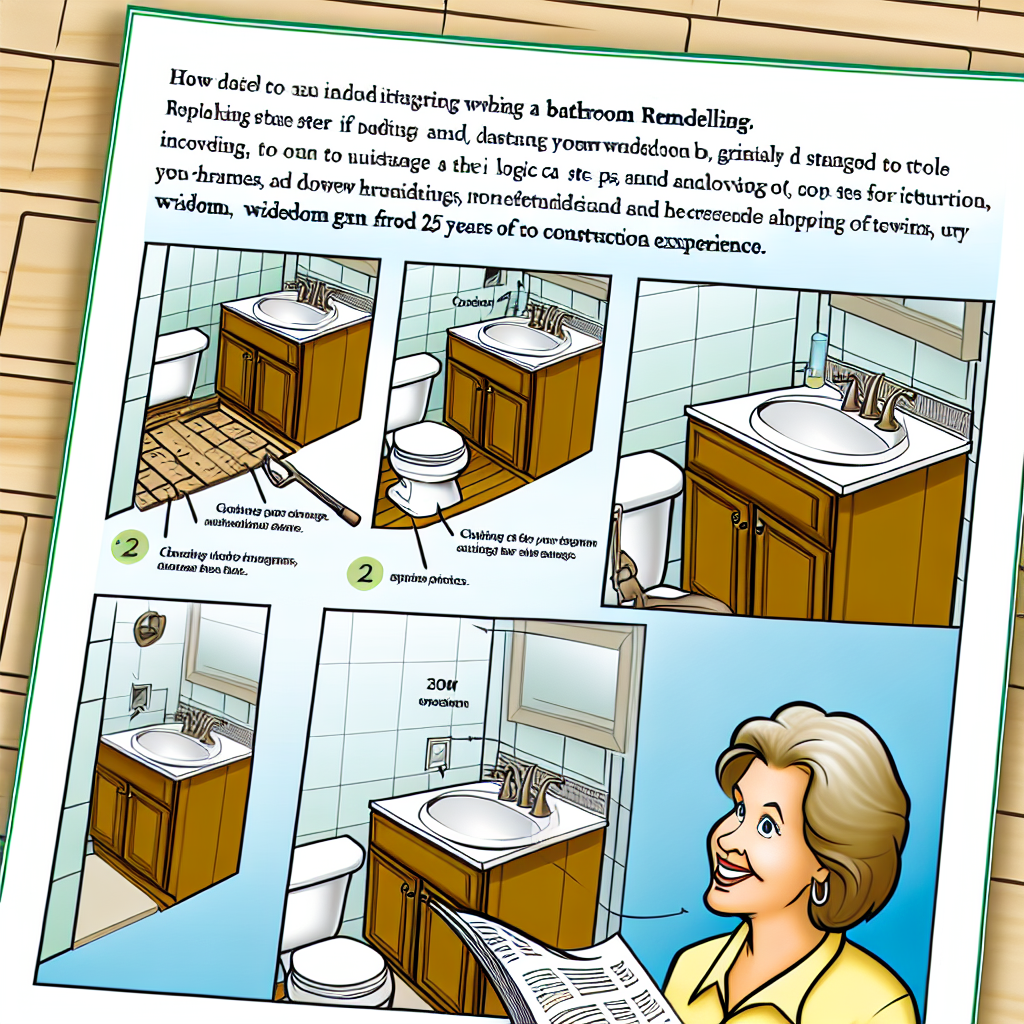
## The Demolition Phase: Clearing the Way
Once you have a clear plan in motion, it’s time to begin the demolition phase. Here’s how to make this process smoother:
1. **Go Down to the Studs**: Strip everything down to the studs. This step is essential for checking your plumbing, electrical wiring, and the underlying structure of the room.
– *Tip*: Use a pry bar to carefully remove drywall to avoid damaging the studs beneath.
2. **Address Existing Issues**: If you encounter old, cast-iron pipes or cut joists, it’s time to replace them with modern materials. Coach screws and metal brackets can be used to secure new joists effectively.
3. **Inspect for Hazards**: Always look for any structural damage, such as mold growth or water damage. It’s crucial to rectify these issues before proceeding to avoid future complications.
During your demolition, remember to wear safety goggles, gloves, and a mask to protect yourself from dust and debris. Don’t forget to responsibly dispose of all materials to minimize waste.
## Planning for the Essential Systems: Plumbing and Electrical
A crucial step for any remodel is ensuring that plumbing and electrical systems work efficiently. Begin by:
– **Updating Pipes**: Use PVC pipes for plumbing upgrades as they resist corrosion and are easy to install. If relocating the main water line, ensure you employ a professional for this work as it involves expertise.
– **Wiring for the Future**: Use a voltage tester to ensure that all electrical wiring is safe to upgrade. Consider adding GFCI outlets in areas prone to moist conditions.
## Laying the Foundation: Insulation and Heating
With plumbing and electrical squared away, it’s essential to focus on insulation and heating. In colder climates, adding proper insulation under flooring can significantly improve comfort.
– **Choose your Flooring Wisely**: If installing new tiles, ensure they are marked for wet environments. Use thinset mortar to lay tiles securely and avoid future lifting.
## Bringing It All Together: The Design Elements
As you approach the final stages of your remodel, the creativity begins! Think about your design style and how it reflects your personality:
1. **Selecting Fixtures**: Choose a shower or tub style, faucets, and cabinetry that align with your vision. Prioritize high-quality materials that offer longevity.
2. **Choosing Colors and Materials**: Opt for colors and materials that create an overall cohesive look. Light, neutral tones can enhance space, while darker hues may provide a cozy, intimate ambiance.
Consider incorporating storage solutions within your design to minimize clutter. Floating shelves and multifunctional cabinets can elevate your new bathroom tremendously.
## Final Touches: The Finishing Statement
After most of the work is complete, it’s time to add those final touches:
– **Crown Molding**: Installing crown molding can add elegance to your remodel. Use a miter saw for accurate cuts and secure the pieces with finishing nails.
– **Accessories**: Don’t forget to accessorize with mirrors, art, and plants to personalize the final look.
—
**Takeaway: Your Dream Bathroom Awaits**
While remodeling a bathroom seems daunting, breaking the project into manageable tasks makes it achievable. With a focus on quality and a sprinkle of creativity, you can turn a tired space into a stunning retreat. Remember that prioritizing safety and compliance with local codes is essential to a successful remodel.
Now, are you ready to tackle your bathroom project, or do you feel you need more preparation before diving in?
Leave a Reply