
 # Creating a Cozy Corner: A Practical Guide to Building a Welcoming Walnut Bookcase
As a homeowner, transforming your space to reflect your style and meet your needs is a rewarding endeavor. If you’re considering a new piece of furniture that serves multiple purposes, a custom-built bookcase might be just what you’re looking for. This guide will walk you through the ins and outs of building a walnut bookcase that not only enhances your home aesthetics but also serves practical functions.
## Discovering the Benefits of a Bookcase
Before diving into construction details, let’s explore why a bookcase is a worthy addition to your living space. A well-designed bookcase can:
– **Serve Multiple Functions**: Whether it’s a space to display your favorite books, showcase decorative items, or even act as a bench for extra seating, your bookcase should suit your lifestyle.
– **Maximize Space**: Particularly in smaller homes, a built-in bookcase utilizes vertical space, making your room feel more organized and stylish.
– **Showcase Personal Style**: The choice of materials, color, and design can reflect your personality, making it a focal point in your home.
With these benefits in mind, it’s time to tap into your inner DIY enthusiast!
## Setting Your Design Goals
Before you swing the hammer, think about the purpose of your bookcase. What do you hope to store or display? Here are a few things to consider:
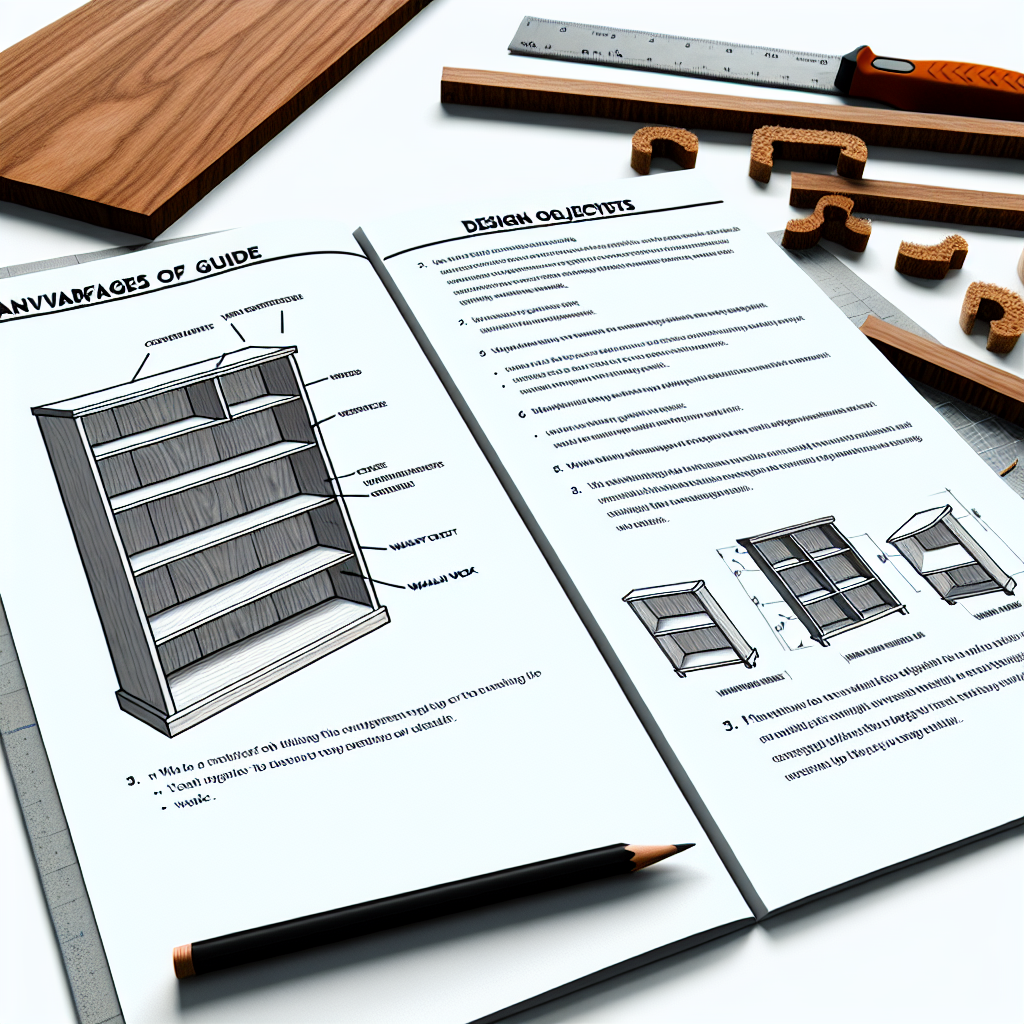
1. **Size and Shape**: Measure the area where you plan to install the bookcase. Are you looking for a tall unit that reaches to the ceiling or something more compact?
2. **Materials**: For a high-quality finish that is both elegant and sturdy, walnut wood is a fantastic choice. Its rich tones add warmth to any room.
3. **Design**: Do you want a traditional look with ornate crown molding or a more modern aesthetic with clean lines? Sketching out a design can help clarify your vision.
### Gathering Tools and Materials
Once you have a solid design, it’s time to gather everything you’ll need. Here’s a basic list of materials for your walnut bookcase:
– Walnut lumber (with a mix of plywood for backing, if desired)
– Wood glue
– Wood screws
– Sandpaper (various grits)
– Wood stain or finish
– Paintbrushes
– Finishing wax
– Power tools (saw, drill, sander)
Safety equipment is a must—goggles, gloves, and a dust mask will help protect you while working.
## Step-by-Step Construction Guide
### Step 1: Cutting the Wood
Start by cutting your lumber to size based on your design. Ensure precise cuts for a clean fit; a miter saw or table saw works well for this. If you’re unsure about your cutting skills, consider having your local hardware store do the cutting for you.
### Step 2: Assembling the Frame
Once your pieces are cut, assemble the frame. Use wood glue and screws to join the sides, top, and bottom. Always ensure you’re checking for squares to avoid a lopsided bookcase. A carpenter’s square can be handy here.
### Step 3: Adding Shelves
Determine the spacing between shelves based on what you plan to store. Adjustable shelves are a great option—providing flexibility as your storage needs change. Use shelf pins to accommodate this functionality. Be sure to sand the shelves smooth for a polished look.
### Step 4: Finishing Touches
Sanding your bookcase is crucial for a flawless finish. Start with rough sandpaper (80-grit) and work your way to finer grits (220-grit). Once you’ve achieved a smooth surface, apply wood stain or finish to enhance the walnut’s natural beauty. Regularly wipe away excess stain to achieve an even tone. If desired, follow with a coat of finishing wax for added protection and sheen.
### Step 5: Installing the Bookcase
For a finished look, consider attaching the bookcase to the wall, especially if it’s tall. This adds stability and reduces the risk of tipping. Use plenty of anchors, and make sure to keep any electronic devices and cables hidden for a clean presentation.
## Takeaway: Create a Piece You Love
Building a walnut bookcase can be a rewarding project that perfectly fits your space and style. Embrace the process of designing and crafting your furniture. It’s not just about creating a functional piece; it’s about infusing your personality and love into your home.
### Final Thoughts
Whether you’re a seasoned DIYer or a beginner figuring out the basics, taking on a project like this can not only improve your home but also provide satisfaction and pride in your work. Remember, each bookcase is as unique as the stories it will hold! So roll up your sleeves and let your creativity shine—let’s turn that empty wall into a display of your life.
Leave a Reply