
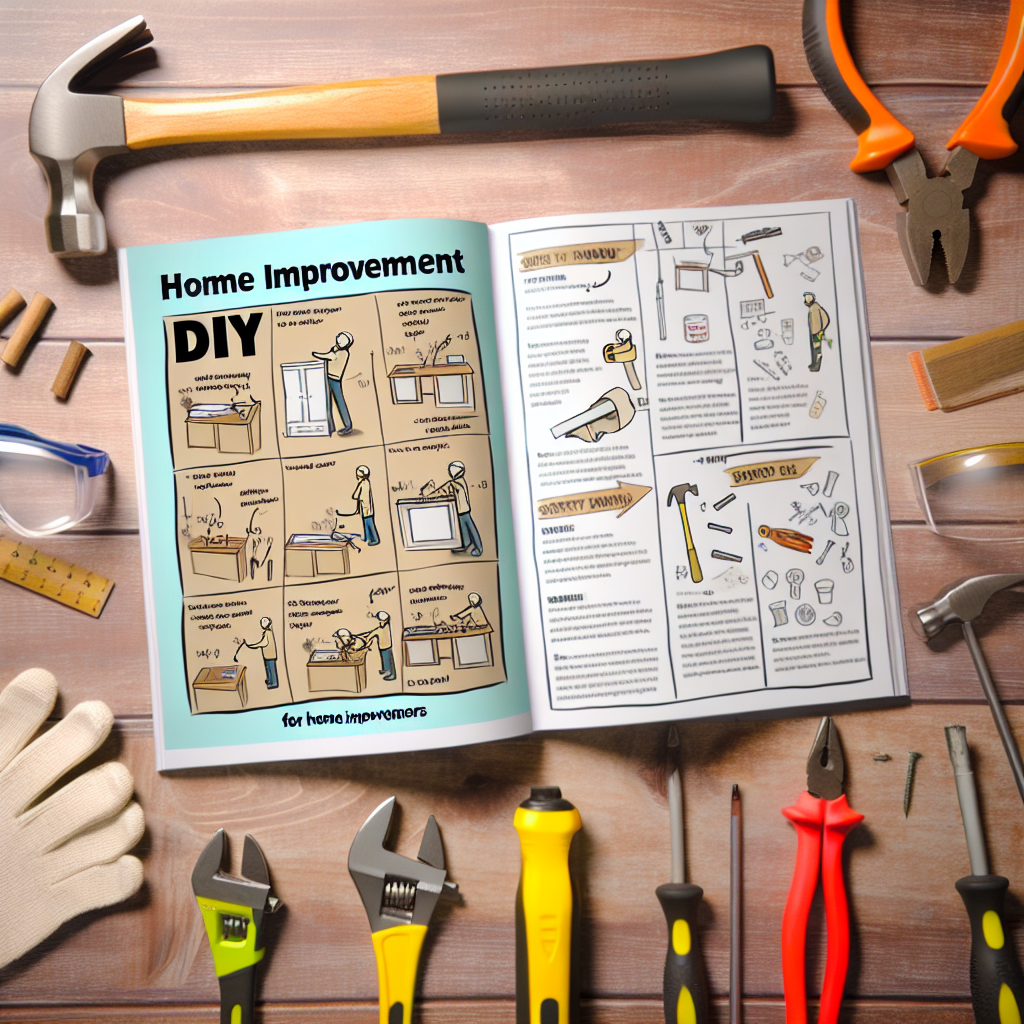
 # Building Your Ultimate DIY Toolbox: The Essential Guide for Millennial and Gen-X Homeowners
When it comes to home improvement, we all start somewhere—and the journey can be as rewarding as the outcome. Whether you’re tackling your dream renovation or addressing a pesky maintenance issue, a solid foundation of knowledge equips you—and your home—for success. This guide embraces the spirit of curiosity and creativity while providing practical tips, crucial insights, and encouragement. Let’s dive into the world of DIY and explore common questions, project ideas, and essential materials to bring your vision to life.
## Understanding the Basics
### Common Questions from DIY Enthusiasts
We’ve all had those moments—staring at a project with a thousand questions racing through our minds. Whether you’re pondering where to buy materials, how to fix a concrete issue, or simply wondering if a contraption is safe enough, remember: it’s okay to ask questions.
#### Where to Find Your Materials
To kick off a project successfully, finding quality materials at reasonable prices is crucial. Major home improvement stores like Home Depot and Lowe’s are great starting points. However, don’t overlook local hardware stores, which often have personalized service and unique offerings. Online marketplaces like Amazon or specialty sites can also be great for hard-to-find items.
### The DIY Design Dilemma
Before picking up a hammer, it’s essential to consider the design and aesthetics of your project. For example, if you’re looking to fix water damage around your basement window, you’ll need to choose materials that are functional and visually appealing. Taking the time to plan out your design can save you headaches later on.
## Tackling Concrete Issues
### Fixing Water Seepage Around Windows
One common concern in many households is water seeping through basement windows, leading to structural damage over time. The ideal solution? Hydraulic cement, known for its water resistance and strength, is a fantastic option for repairs.
To complete this project successfully, follow these steps:
1. **Clean the Area**: Remove any loose debris and clean the affected area thoroughly.
– *Tool Needed*: Wire brush or utility knife.
2. **Assess Damage**: Determine how deep you need to apply the patch—if the damage is extensive, you may need to consider more than just surface repairs.
– *Tip*: Use a moisture meter to detect damp areas.
3. **Mix Hydraulic Cement**: Follow package instructions for optimal results, ensuring consistency that isn’t too thick or watery.
– *Pro Tip*: Add a bonding agent to improve adhesion.
4. **Apply Cement**: Use a trowel to spread the cement over the affected area, ensuring it fills any gaps and smooths out nicely.
– *Technique*: Apply in layers if the gap is deep, allowing each layer to set before adding the next.
5. **Cure Properly**: Allow ample time for the cement to cure, which may mean keeping the area moist if the instructions call for it.
– *Reminder*: Curing can take several days and is crucial for strength.
### Assessing Safety for Your DIY Projects
When you’re taking on new projects, always consider safety first. Whether you’re building a sliding platform for your work truck or taking on an indoor project, knowing your limits and keeping safety in mind can prevent accidents.
To keep your DIY experience safe and enjoyable:
– **Use Appropriate Tools**: Each project may require different tools, and it’s vital to make sure you’re using equipment that you’re comfortable with and that’s suited for the task.
– **Check Material Limits**: If you’re considering using a construct for weight-bearing purposes—a custom bed slider, for instance—ensure that your materials can handle the intended load. Regularly reevaluate your design as you work to avoid any mishaps.
## Creating Functional Projects
### Innovative Ideas for Custom Builds
Take inspiration from fellow DIY enthusiasts who have taken their projects to the next level. For example, consider a bed slider for your work truck—a practical addition that allows for storage convenience while optimizing space.
Here’s how to get started:
1. **Plan Your Build**: Measure the dimensions of your truck bed, considering factors such as wheel well placement to maximize available space.
2. **Choose Your Materials**: Most projects can be done with common lumber like 2x4s or 2x8s, while specialized components like skateboard bearings can enhance functionality without compromising safety.
– *Material Tip*: Consider using treated lumber for outdoor projects to prevent decay.
3. **Assemble with Care**: When building your slider, make sure to follow straightforward construction guidelines. If adjustments need to be made, don’t hesitate to troubleshoot and adapt your design; this is part of the learning process.
4. **Test Your Build**: After assembly, ensure everything operates smoothly before loading it with heavy equipment.
– *Safety Check*: Perform a weight test with lighter items before full loading.
## Taking It From Here
### Encouragement to Get Started
No matter your starting point, remember that the world of DIY is a judgement-free zone. Every expert once faced uncertainty, and each project presents a chance to learn and grow. Your home and your skills can evolve together.
With the right tools, knowledge, and a dash of creativity, your home can be a place of beauty and function. So go ahead—take that leap, ask your questions, and don’t shy away from the daunting tasks. Your DIY journey is just beginning!
### Key Takeaway
Building your DIY toolbox begins with understanding your materials and planning your projects. By asking the right questions, embracing creativity, and prioritizing safety, you’ll turn your housing dreams into a reality, one project at a time. Happy building!
Now, what project are you ready to take on next, and how can you prepare to make it a success?
Leave a Reply