
 # Revive and Refresh: Your Guide to Prepping a Metal Door for Paint
Transforming your home doesn’t always mean starting from scratch. Sometimes, it’s about breathing new life into elements you already own. If you’re a millennial or Gen-X homeowner with a metal door that’s showing signs of age—like rust—don’t worry! With a bit of elbow grease and the right techniques, you can prep your door for a beautiful paint finish. This guide will walk you through the process step-by-step, ensuring you feel confident and capable along the way.
## Why Prep Matters
Before diving in, let’s discuss the importance of proper prep work. Skipping this step is like trying to build a house on a shaky foundation. A well-prepped surface ensures that your new paint adheres better, looks smoother, and lasts longer. In short, a little time spent prepping can prevent future headaches and additional costs.
## Gather Your Supplies
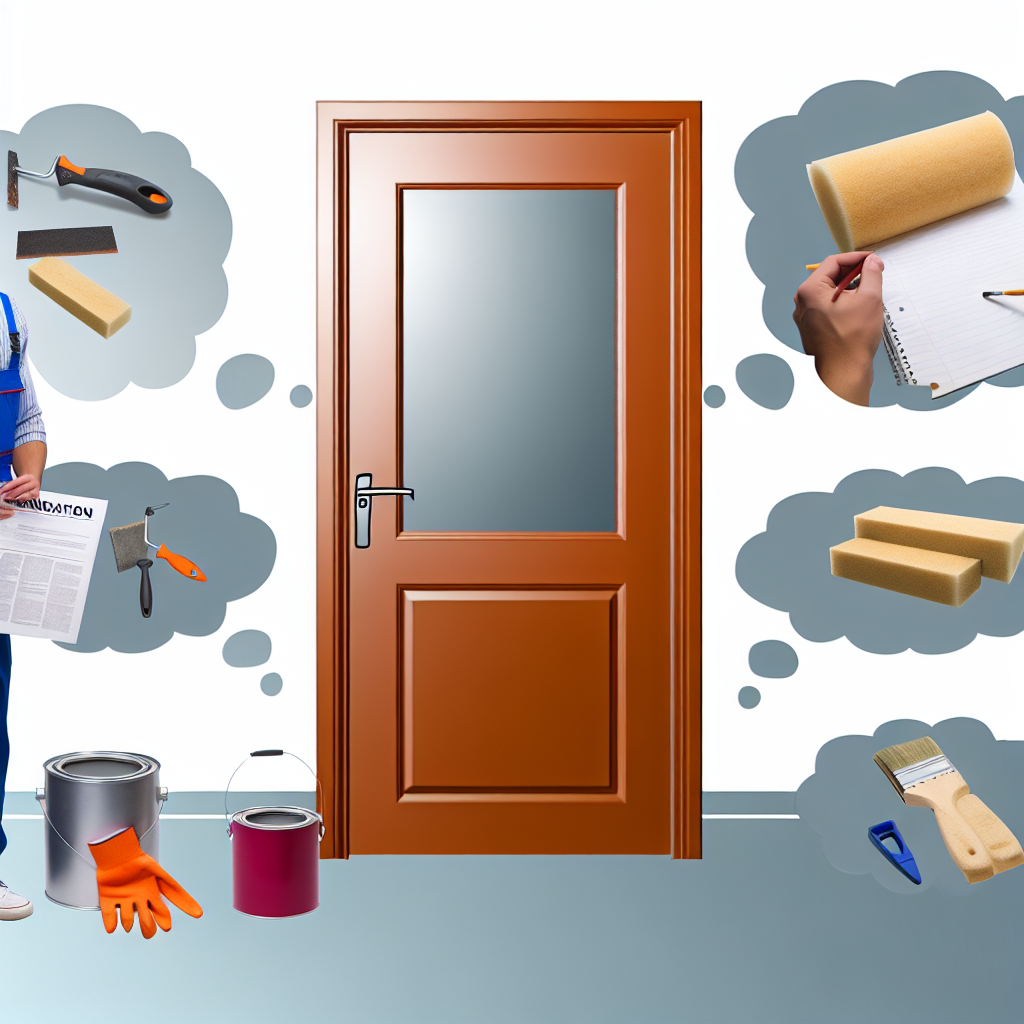
Before you start, gather your supplies. Here’s what you’ll need:
– Sandpaper (medium and fine grit)
– Wire brush or steel wool
– Rust-inhibiting primer
– Paint (choose a high-quality metal paint for durability)
– Paintbrush or roller
– Drop cloths
– Painter’s tape
– Safety goggles and gloves
– A bucket of soapy water and a sponge
These items will help you tackle the project effectively. Now, let’s break down the process!
## Step 1: Clean That Door
Begin by cleaning the door thoroughly. Remove any dirt or grime, especially around the rusty spots. Use a sponge and soapy water to scrub the surface. This not only cleans it but also helps you identify all the rust damage. Rinse well and allow the door to dry completely. It’s essential your metal surface is clean, as contaminants can interfere with paint adhesion.
## Step 2: Remove Rust
Once the door is dry, it’s time to focus on that rust. Start with a wire brush or steel wool to scrub away any loose rust. Be gentle but thorough; you want to remove as much rust as possible without damaging the underlying metal.
For stubborn spots, you can use medium-grit sandpaper to sand down the rusted areas, smoothing them out as you go. This process not only helps remove rust, but it will also enhance the adhesion of your primer. After you’ve removed all visible rust, switch to fine-grit sandpaper to smooth out the entire surface. Wipe it down with a damp cloth afterward to remove any dust particles before proceeding. Remember, a clean surface is key to quality results.
## Step 3: Apply Primer
Priming your door is essential, especially when dealing with rust. Select a rust-inhibiting primer and use a brush or roller to apply it evenly across the door. Make sure to cover the previously rusted areas thoroughly. If it’s been a particularly rough treatment, you may need two coats of primer—just follow the manufacturer’s instructions for drying times. Remember, the primer not only helps with adhesion but also adds an additional barrier against rust.
## Step 4: Get Creative with Paint
Once the primer is dry, you’re ready to paint! Choose a paint specifically designed for metal and, if you’re after a chic look, consider a color that complements your home’s exterior. You’ll want to apply your paint with a brush or roller in smooth, even strokes.
A tip: Just like with the primer, multiple coats might be necessary to achieve a vibrant, uniform finish. Aim for at least two coats, allowing adequate drying time between applications. Keep an eye on the thickness, as too many coats can lead to drips or an uneven finish.
## Step 5: Let It Cure
After you’ve finished painting, patience is key! Let your door cure according to the paint instructions. This drying period is crucial for achieving a durable and long-lasting finish. Proper curing also helps prevent scuffs and scratches early in the life of the paint.
## Step 6: Final Touches
Once everything is dry, evaluate your door. If needed, touch up any areas that don’t look perfect. This is your chance to ensure that every detail is attended to. Finally, enjoy your newly refurbished metal door! Not only does it look great, but you’ve also amplified your home’s curb appeal.
## Conclusion
Reviving a metal door riddled with rust may seem daunting, but with a little determination and the right steps, it can transform from drab to fab. By following this guide, you not only become an empowered DIYer but also take pride in the upkeep of your space.
### Takeaway
Remember, the secret to a successful DIY project is preparation. Take your time, gather the right tools, and follow each step carefully. You’ll be amazed at what a little paint and perseverance can achieve.
As you embark on this journey, ask yourself: What other areas of my home could benefit from a similar transformation? Are there skills I want to develop further for my future DIY projects?
Leave a Reply