
 # The DIY Blueprint: Mastering Your Home Projects
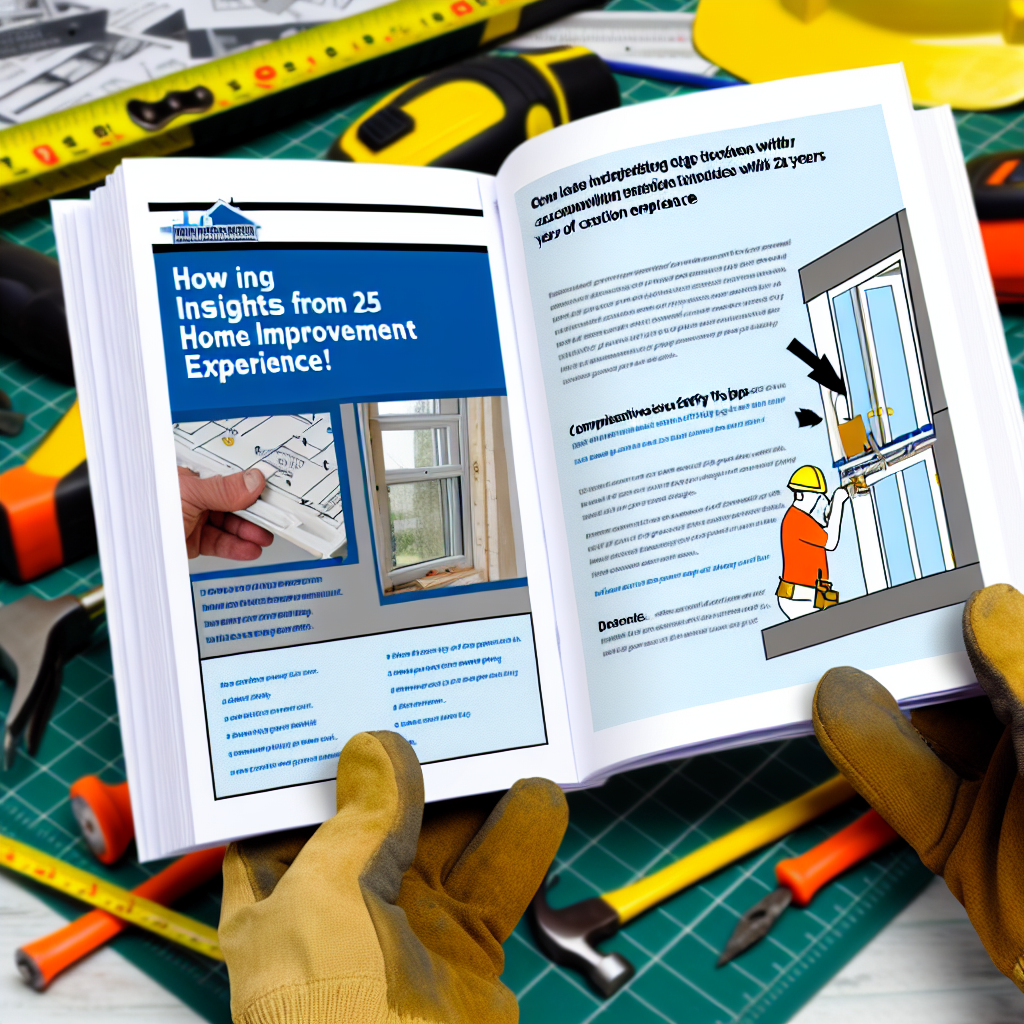
Home improvement is more than just a hobby; it embodies the aspiration to create a space that reflects your style and meets your needs. However, starting on a DIY project can be overwhelming, and understanding the proper techniques is crucial for achieving quality results while prioritizing safety. Drawing from 25 years of construction experience, I aim to guide you through the fundamentals of successful home improvement. Let’s tackle some common projects together!
## Project Introduction: Painting a Room
One of the most frequently undertaken DIY projects is painting a room. Whether you want to refresh the look of a room, add a splash of color, or cover up stains, a fresh coat of paint can make a world of difference. However, without the right approach, it can also lead to a frustrating experience with less-than-ideal results. Here’s how to do it right!
## Step-by-Step Breakdown
### 1. Gather Your Tools and Materials
Before you start, it’s essential to have the right tools:
– **Paint** (choose a quality brand and finish based on your room’s use)
– **Paint rollers and brushes** (a roller for large areas and a brush for corners and edges)
– **Painter’s tape** (to protect edges)
– **Drop cloths** (to protect floors and furniture)
– **Paint tray**
– **Ladder** (if needed for high areas)
– **Safety goggles and mask** (for protection against paint fumes and splatters)
### 2. Prep the Room
– **Move Furniture**: Clear the area of furniture or cover it with drop cloths to protect it from paint splatters.
– **Clean the Walls**: Wipe down the walls with a damp cloth to remove dust and grease.
– **Patch Holes**: Use a drywall compound for any holes or imperfections to create a smooth base for painting.
### 3. Tape Off Areas
Apply painter’s tape around windows, doors, and trim to protect these areas from getting paint on them. Make sure to press down the tape well for a clean line and ensure no paint sneaks underneath.
### 4. Prime the Walls (if necessary)
Depending on the paint color and the previous wall paint, priming may be needed for optimal coverage. Use a primer for a smoother finish and to help your paint adhere better.
### 5. Start Painting!
– **Cut In**: Start by using a paint brush to cut in around the edges of the walls, ensuring you cover any areas where a roller might not reach.
– **Roll on the Paint**: Dip your roller into the paint tray and start rolling on the paint, working in sections. Be sure to apply even pressure and avoid overloading the roller to prevent drips.
### 6. Apply a Second Coat
Let the first coat dry according to the paint manufacturer’s instructions, and then apply a second coat for full coverage.
### 7. Remove the Tape
After the final coat has dried, carefully remove the painter’s tape while the paint is still slightly tacky to ensure clean lines.
### 8. Clean Up
– **Wash Brushes and Rollers**: Clean your tools thoroughly with soap and water if you used latex paint, or with the appropriate solvent for oil-based paint.
– **Dispose of Materials Properly**: Dispose of any non-reusable materials according to local regulations.
## Common Mistakes & Pro Tips
– **Not Using Primer**: Many homeowners skip priming and end up needing extra coats of paint. Primers can save time and paint in the long run.
– **Rushing the Process**: Allow adequate drying time for each coat. Patience leads to a better finish.
– **Forget the Safety Gear**: Never skip on safety gear, especially ventilation and protective gear. Always work in a well-ventilated space.
## Empowering Conclusion
Completing a painting project can be incredibly fulfilling. By breaking it down into manageable steps, staying organized, and prioritizing safety, you ensure that your end result matches your vision.
Before diving into your next DIY project, consider:
– What improvements do you envision for your space?
– Are you confident in your skills, or is there more preparation you need?
Remember, every great craftsman started somewhere. Embrace the learning process, keep safety in mind, and soon, you’ll find yourself mastering your DIY projects with confidence!
Leave a Reply