
 ### Introduction: The Home Improvement Journey
Homeownership brings endless opportunities for creativity and improvement. Whether you are looking to customize your living space or addressing practical issues in your home, embarking on DIY projects can be an incredibly rewarding experience. However, common challenges arise in every project, and knowing how to navigate them with confidence is crucial. This guide will provide detailed steps, essential tools, and professional insights to help you tackle your home improvement projects safely and effectively.
### Identifying Your Project
Before starting any DIY project, it’s important to clearly define what you want to achieve. Here are a few common scenarios that many homeowners face:
– **Updating a room:** This could include painting walls, replacing flooring, or redesigning a layout.
– **Fixing a broken fixture:** Leaky faucets or malfunctioning light fixtures can be fixed with the right tools and know-how.
– **Improving functionality:** Sometimes, it’s about making your space more efficient, like adding storage solutions or creating an open concept area.
### Step 1: Plan Your Project
Once you have identified your project:
1. **Draft a Plan:** Detail the scope of your project, including desired final outcomes, timeline, and budget.
2. **Gather Inspiration:** Look for ideas from home improvement websites, Pinterest, or DIY blogs.
### Step 2: Gather Tools and Materials
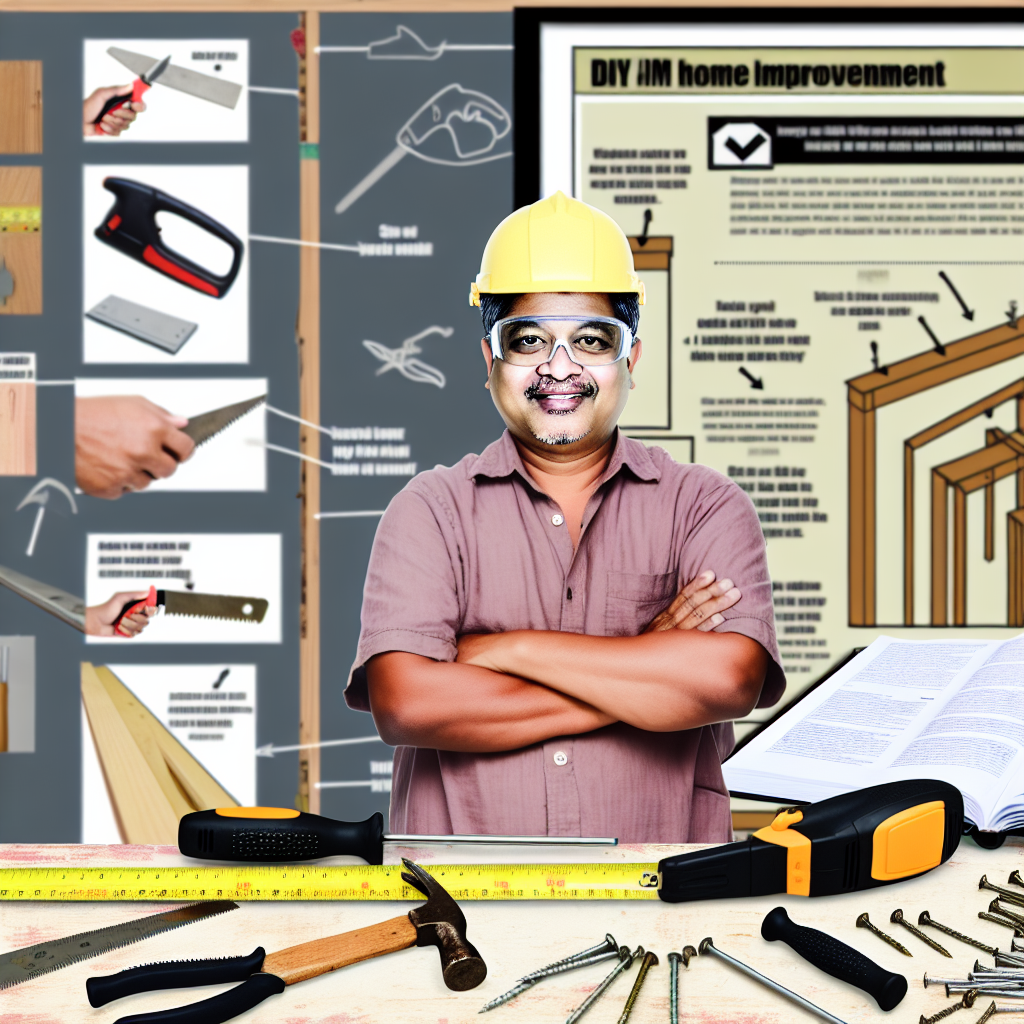
Having the right tools and materials is fundamental to a successful DIY project. Here’s a list of essentials:
– **Basic Tools:** Hammer, screwdrivers, pliers, a level, tape measure, and utility knife.
– **Power Tools:** Drill, saw, sander, or any other tools relevant to your project.
– **Safety Gear:** Always wear safety goggles, gloves, and a mask where applicable. Protecting yourself is the most important step.
### Step 3: Know Your Measurements
Precision is key in DIY. Use a tape measure to get accurate measurements for any areas where you’ll be working, whether it’s flooring, walls, or fixtures. Always measure twice to avoid costly mistakes.
### Step 4: Execute with Precision
When you start the actual work, follow these guidelines:
1. **Take Your Time:** Rushing can lead to mistakes. Focus on doing each step correctly.
2. **Follow Instructions:** If you are using a kit or following a tutorial, stick closely to the provided instructions.
3. **Check for Level & Alignment:** Use a level frequently to ensure everything is straight and aligned as you work.
### Common Mistakes to Avoid
Even seasoned DIYers can make errors. Here are some common pitfalls and how to avoid them:
– **Overestimating Skills:** Be honest with your skills and seek help if a task feels too complicated.
– **Ignoring Safety Protocols:** Skipping safety can lead to injuries. Always wear the right gear and be cautious when using tools.
– **Neglecting Cleanup:** A tidy workspace is safer and ensures a better end result.
### Professional Tips to Enhance Your Results
1. **Learn from Others:** Ask experienced friends or family members for tips before you start.
2. **Document Your Process:** Take notes and photos throughout your project to reference later or share with the DIY community for feedback.
3. **Be Adaptable:** Sometimes, plans may have to change. Be open to adjusting your approach based on how things unfold.
### Conclusion: Evaluate Your Readiness
DIY projects can seem daunting, but with the right preparation, you can tackle almost anything. Remember to prioritize safety, take your time, and most importantly, enjoy the process of transforming your home.
With a solid plan and the necessary tools, you’re well on your way to achieving your goals. Now that you’ve read through this guide, consider: What project are you most excited about tackling, and what skills do you feel you need to develop further? Embrace the challenge, and transform your home into a space that fully represents your personality!
Leave a Reply