
 # The DIY Blueprint: Transforming Your Space Safely and Effectively
Homeownership unlocks the door to creativity and personal expression, but tackling home improvement projects can be a daunting task. With the right guidance and a clear plan, however, every homeowner can transform their space while ensuring safety and quality. Let’s dive into practical, detailed techniques for common DIY projects that will empower you to enhance your home without stress.
## Step 1: Define Your Project
Before diving into any renovations, it’s essential to have a clear understanding of what you want to achieve. Whether you’re updating a room or adding a new feature, defining your project at the outset simplifies the entire process. Ask yourself questions like:
– What is the desired aesthetic?
– How much time can I dedicate to this project?
– What budget do I have?
By outlining these key aspects, you can create a solid plan that will guide you in the coming steps.
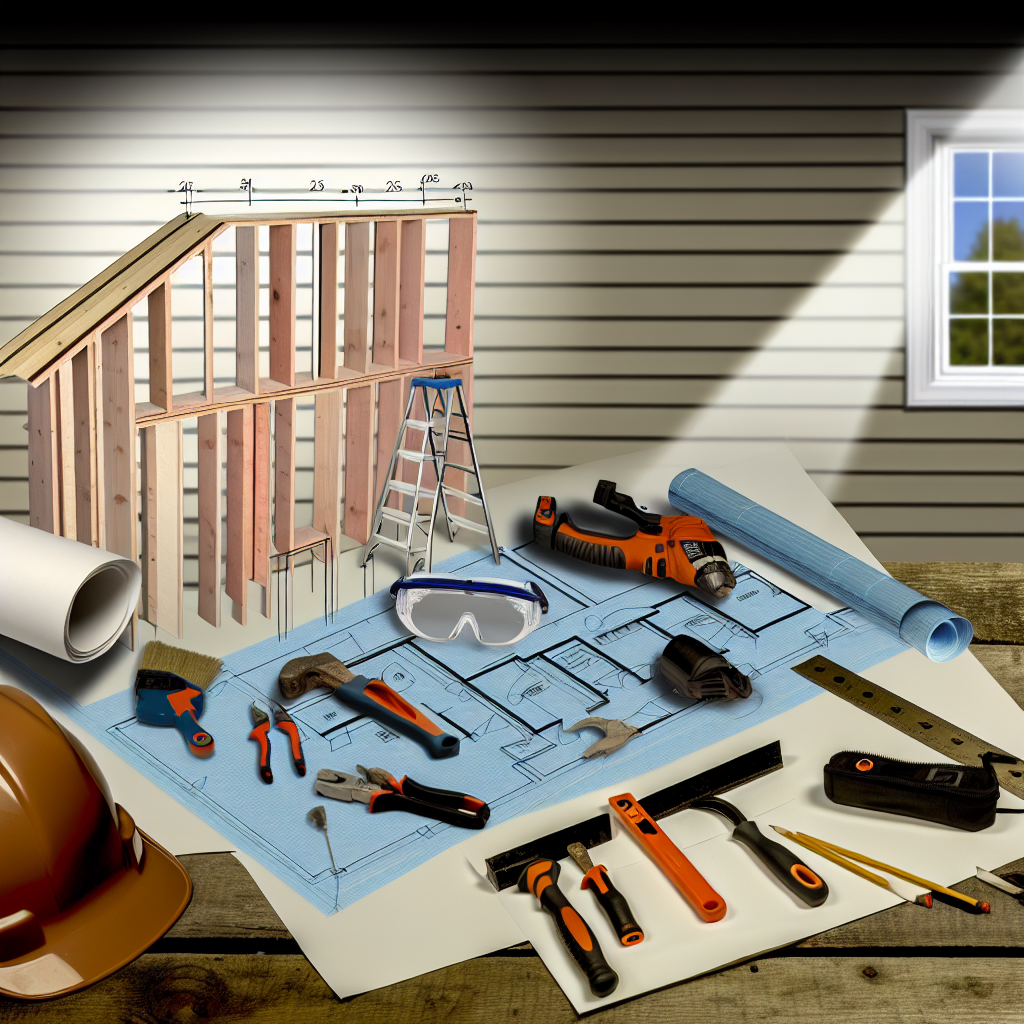
## Step 2: Gather Your Tools and Materials
Safety starts with having the right tools. Here’s a list for general home improvement projects, but tailor it to your specific task:
– **Hammer**
– **Drill**
– **Tape Measure**
– **Level**
– **Safety Goggles**
– **Dust Mask**
– **Paint Brushes/Rollers**
– **Drop Cloths**
– **Screws, Nails, or Anchors (as needed)**
Make sure to check that your materials are of high quality. For instance, if you’re painting, choose durable, non-toxic paint to enhance your space without compromising air quality.
## Step 3: Safety First
Before starting any project, ensure you have the proper safety gear. **Safety goggles**, **work gloves**, and a **dust mask** are essential for protecting yourself from debris, dust, and hazardous materials. If you’re using power tools, read their instructional manuals beforehand to familiarize yourself with their safety features.
## Step 4: Execute the Project
Now that you have your plan, tools, and safety gear, it’s time to execute your project. Let’s say, for instance, you’re painting a room:
1. **Preparation:** Remove furniture or cover it with drop cloths. Tape edges around windows and doors to avoid paint splatter.
2. **Priming:** Apply a primer to ensure the paint adheres properly; this helps in achieving a more vibrant finish.
3. **Painting:** Begin at the top (the ceiling) and work your way down, applying paint in even swaths. If you’re painting a wall, use a roller for large areas and a brush for edges.
4. **Drying:** Allow enough drying time before applying the second coat. Check the manufacturer’s instructions regarding drying times for the specific product used.
5. **Cleanup:** Clean your brushes and store leftover paint correctly, following the guidelines on the paint can.
## Common Mistakes and Pro Tips
Often, homeowners make simple mistakes that can lead to frustrating outcomes. Here are a couple to watch out for:
– **Rushing:** Take your time. Hasty projects often lead to messy results. Slow and steady results in better quality work.
– **Ignoring the Prep Work:** Preparation is key. Skipping steps such as priming surfaces can result in unwanted texture and finish.
– **Neglecting Quality Products:** Invest in quality tools and materials; they make all the difference in achieving professional results without frustration.
## Conclusion: Empower Your DIY Journey
As you take on home improvement projects, remember that each effort counts toward making your house a home. Trust in your ability to manage these projects, and don’t hesitate to ask for help when needed. DIY isn’t just about fixing; it’s about creating a space that reflects your personality and style.
Before you grab that paintbrush or toolbox, take a moment to assess: Are you ready to tackle your next project, or do you need more practice or research to build your confidence? Share your thoughts below!
Leave a Reply