
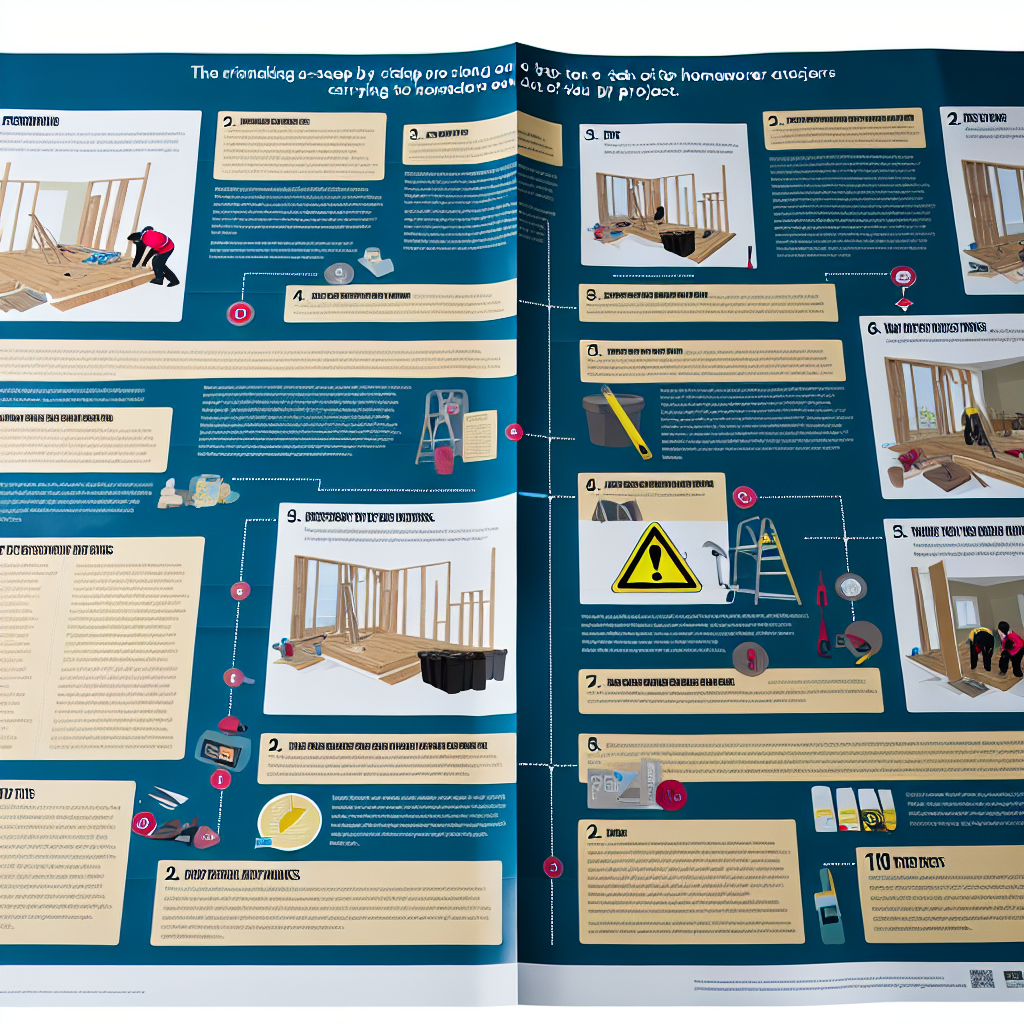
 # The DIY Blueprint: A Homeowner’s Guide to Safe and Effective Projects
## Introduction
Every homeowner has faced the daunting task of a home improvement project at some point, whether it’s fixing squeaky floorboards, building a bookshelf, or tackling a full-on kitchen remodel. The excitement is undeniable, but the process can be a tricky journey filled with obstacles. This guide aims to empower you to approach your DIY endeavors with confidence, safety, and skill. Let’s explore practical advice drawn from years of construction experience to help you succeed in your next project.
## Identifying Common Projects
Before delving into the depth of DIY techniques, it’s essential to identify common home improvement projects many homeowners embark on:
– **Repairing or Replacing Door Hardware**
– **Installing Shelves**
– **Building a Deck**
– **Painting a Room**
Each of these projects has its challenges, but with the right preparation, you can tackle them without incident.
## Step-by-Step Breakdown: Installing Shelves
Installing shelves is a manageable yet immensely useful project that can enhance your home’s functionality and aesthetics. Follow these steps:
### 1. Gather Your Tools and Materials
– Level
– Drill and Drill Bits
– Screwdriver
– Stud Finder
– Measuring Tape
– Shelf Brackets
– Shelves (wood or manufactured)
– Screws
– Pencil
### 2. Choose Your Location
Decide where you want to install the shelves. Measure and mark the desired height using your pencil. Ensure the marks are level and even.
### 3. Locate the Studs
Using the stud finder, locate the wall studs behind your drywall. Mark these locations with a pencil. Installing shelves directly into studs ensures stability.
### 4. Installing the Brackets
– Align the shelf brackets with the marks you made on the wall.
– Using your drill, insert screws into the designated holes in the brackets, anchoring them into the studs.
– For extra support, use wall anchors if you cannot mount brackets directly into studs.
### 5. Placing Your Shelves
Carefully set your shelves onto the brackets and check for stability by applying gentle pressure to ensure they can hold weight.
### 6. Final Safety Check
Ensure everything is level and securely mounted before placing items on your new shelves.
## Common Mistakes and Pro Tips
1. **Not Using the Right Tools**: Ensure your tools are adequate for the job. A common mistake is attempting to drill into walls without the proper drill bits.
2. **Ignoring Safety Precautions**: Always wear safety goggles when drilling to protect against debris, and consider a dust mask if working in a dusty area.
3. **Overloading the Shelves**: It’s vital to remain within weight limits to avoid collapse. Always check the hardware’s specifications.
## Empower Your DIY Journey
Each homeowner is unique, as are their projects. Make it your own by choosing materials and designs that resonate with your personal style. If a project feels beyond your capabilities, targeting smaller tasks can build your confidence. Remember, no job is too small to seek a professional if needed.
## Conclusion
In conclusion, DIY projects empower homeowners by transforming spaces into personalized and functional environments. Remember to approach every project with patience and a willingness to learn.
As you embark on your next home improvement journey, consider this: Are you ready to take your skills to the next level, or do you need more preparation to ensure a successful project? Share your thoughts and experiences, and let’s support each other in our DIY journeys!
Leave a Reply